After finding a source for Tempeh starter recently, I had the opportunity to try making Tempeh. I used the recipe from Sandor Ellix Katz’s book, ‘Wild Fermentation‘, and have also culled some info from his new book, ‘The Art of Fermentation’ to round things out:
2 1/2 cups soybeans
2 TBSPs vinegar
1 tsp Tempeh Spore (Actually I used 1 of the four packets…I only noticed after I was ready to add the spore that they recommend 1 packet for 2 cups of soybeans)
 Step On
 e: De-hulling the Soybeans
The beans must be de-hulled in order to provide a greater surface area for the spore to grow on. If you have a grain mill, this is a great time to use it. You don’t want to make soy flour, however, so be sure to use the coarsest setting. If you don’t have a grain mill, you can soak the beans, cook them until softened slightly, and then mash them up in order to loosen the hulls.
Step Two: Cooking the Beans

If you haven’t already started cooking your beans, now is the time to do so. They should be boiled until you are just able to bite through them, not until they are fully cooked. It is important to avoid overcooking them, as this will cause them to become mushy, which will result in a very tightly packed tempeh cake which will, in turn, result in a lack of space between the beans, and thus, a lack of oxygen available to the tempeh mold, hindering its growth. The soybeans should take between a half hour and 45 minutes to cook to the ideal degree of doneness, but cooking time can vary due to the age of the beans and their size (or the size of the grind), so it’s important to keep and eye on them.
As the beans cook the hulls should rise to the top of the water. They may be skimmed off if desired, but removing them is unnecessary.
 Step Three: Strain and Dry the Beans
Once they are cooked enough, strain the soy beans, doing your best to remove as much water as possible. Prepare a baking sheet with a clean, dry towel and spread the beans out upon it. You can place the tray near a fan to dry them further, or use another towel to pat them dry. Excess water can lead to bacterial growth as opposed to the desired mold growth.
Step Four: Inoculation
Put the beans into a bowl, and add the vinegar. Mix it in well. Vinegar is added to the mix in order to give the tempeh spore an advantage over bacteria present in the air. Katz goes into some detail in his new book about how the traditional method of making tempeh involves two distinct fermentations, the first of which acidifies the beans. The beans are soaked for 24 hrs, which, in a tropical climate, is long enough to sour them. Though the vinegar method works, Katz seems to be of the opinion that the traditional soaking method may be worth the effort (though, at lower temperatures, one would have to find a way to speed up the process). I may try that next time.
Next, it is time to add the Tempeh spore. Make sure the beans are no hotter than body temperature, then add your starter and mix well.
Step Five: Forming the Cakes


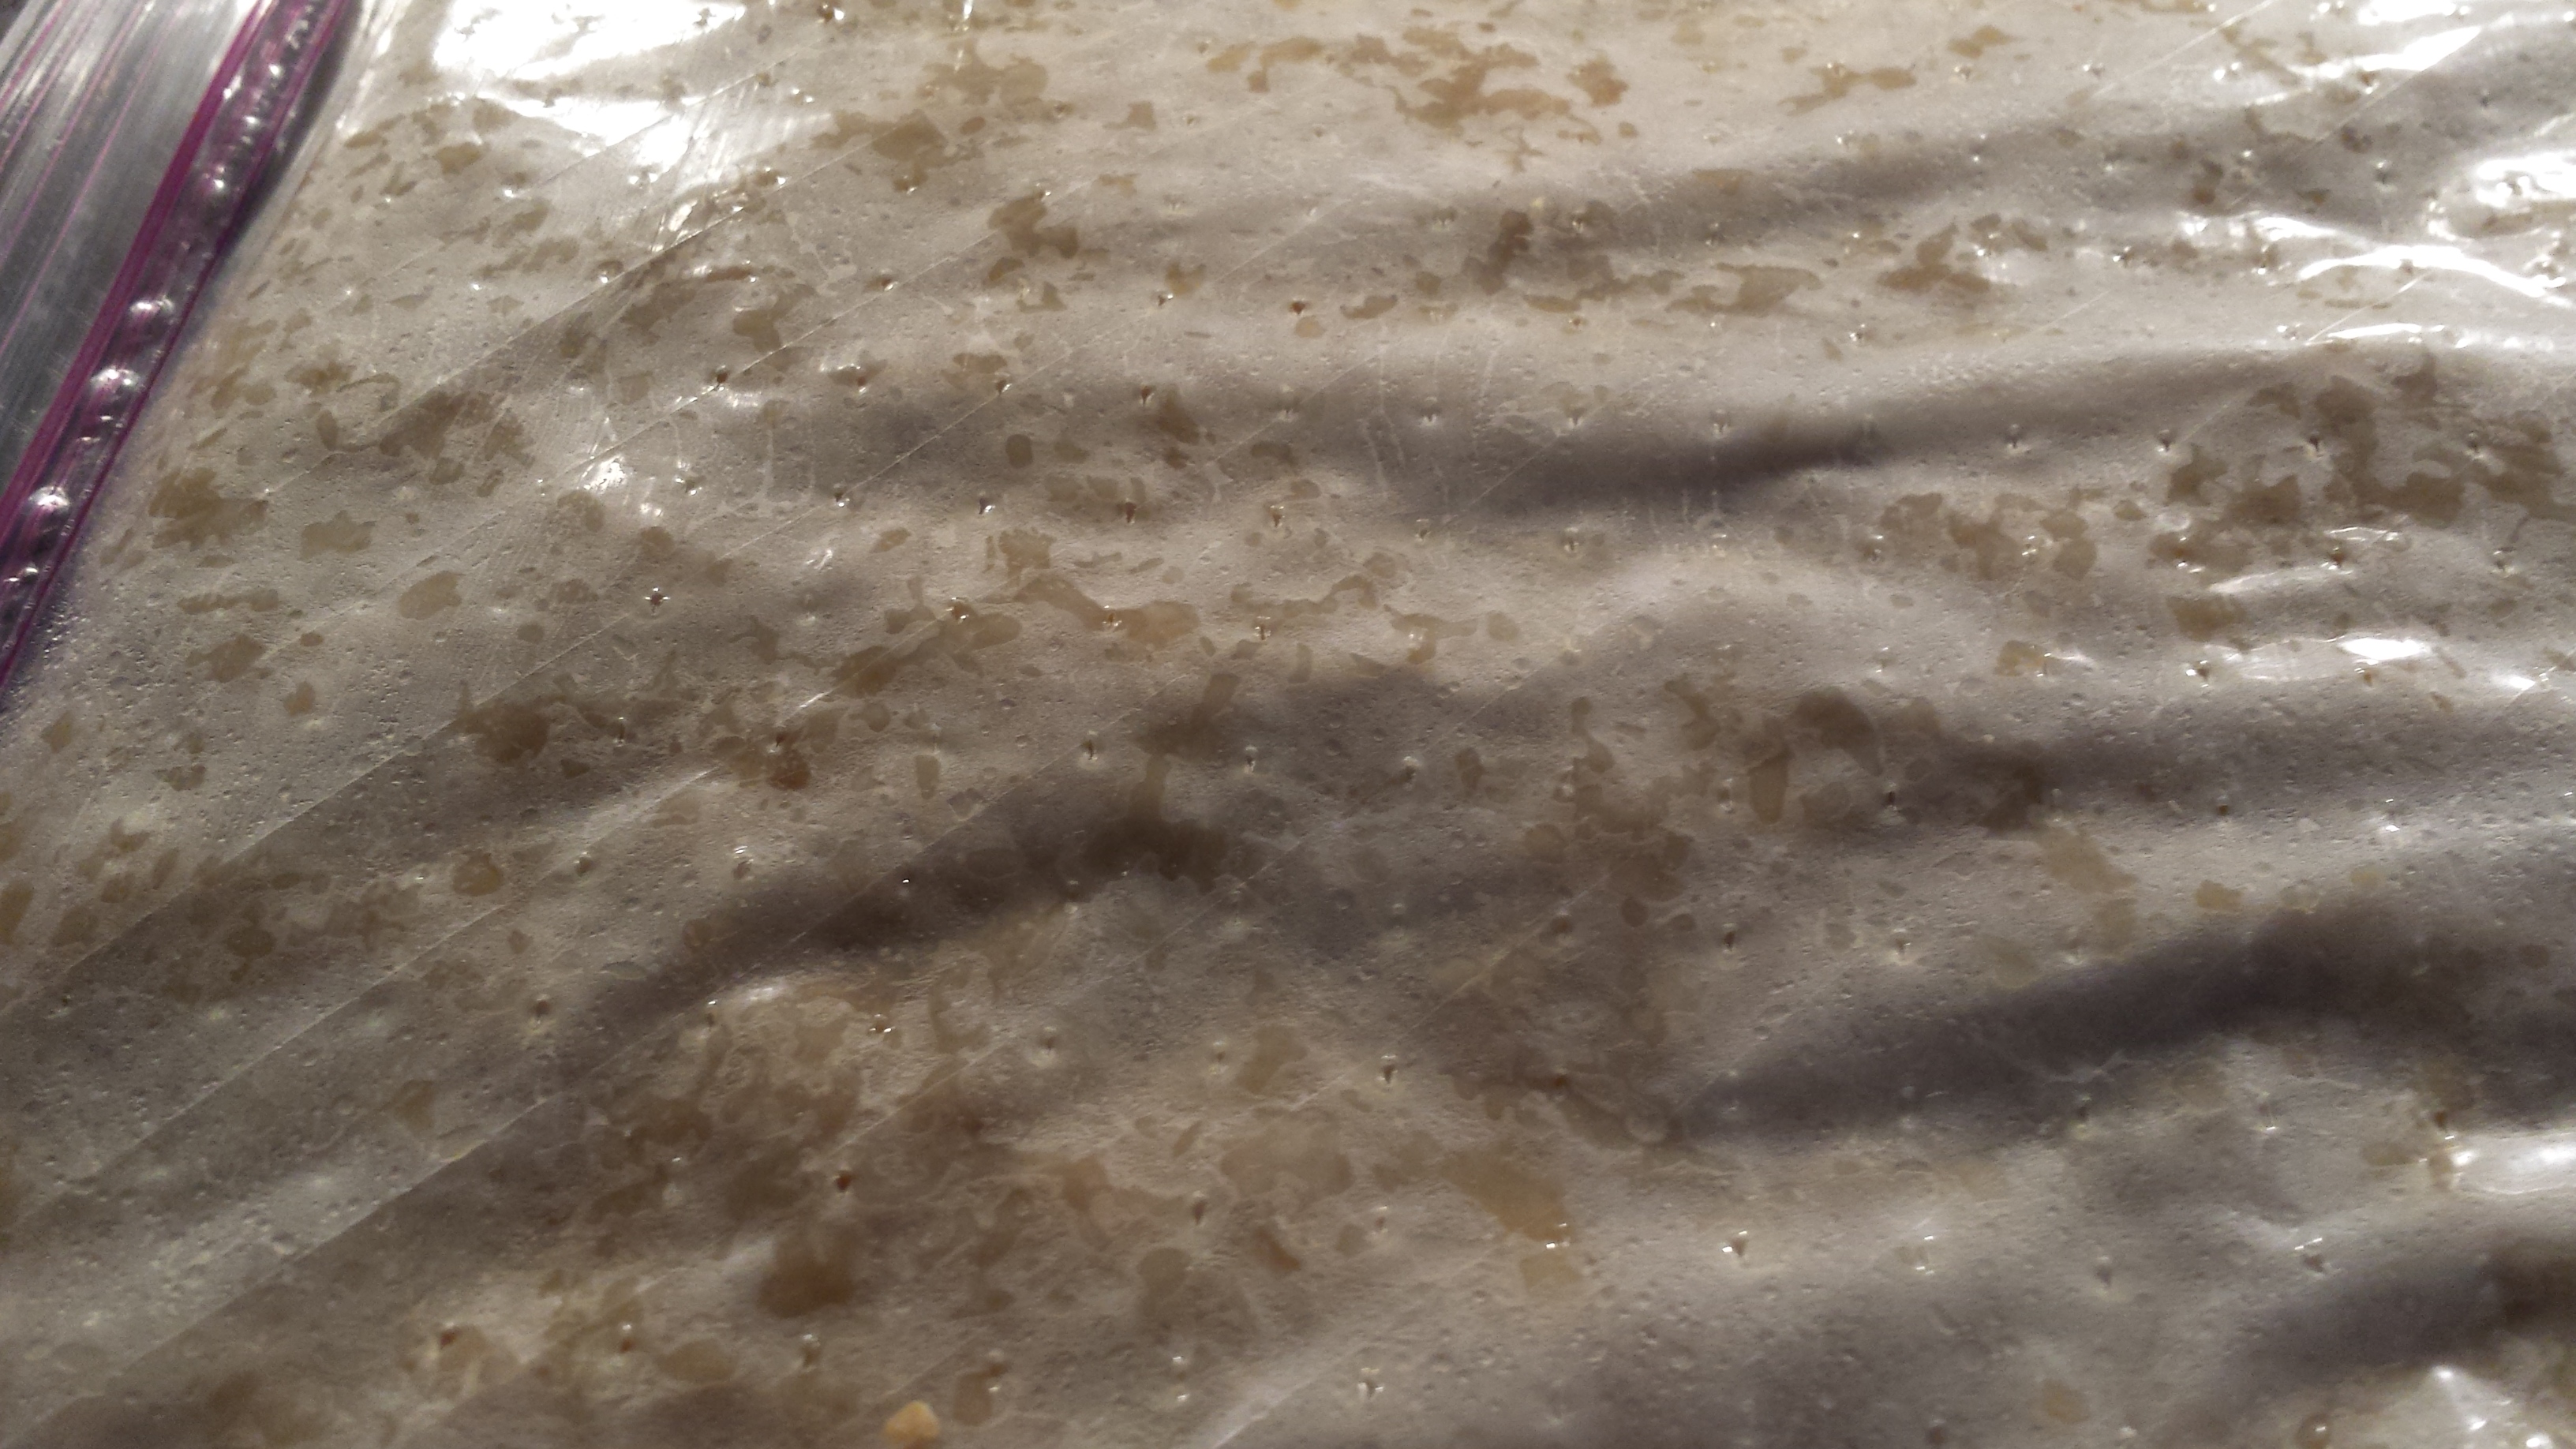
For this step you’ll need large plastic bags with holes in them. I’m using produce bags, because they come with air vents, but you can poke some holes in large zip-locks instead. Put your mix into the bags.
 Step Six: Incubation
The tempeh needs to be incubated at between 85 and 90 degrees F (29 to 32 C). Unless you have something specially designed for this kind of thing, you will likely need to use your oven for incubation. An oven cord thermometer is most useful type for this purpose, but any type of thermometer can be used to check the temperature. Though the lowest setting on your oven will be too hot for incubation, you can fiddle with the temp inside your oven by turning the light on and cracking the oven door more or less until you find a setup that works for you.
When your oven is at the proper temperature, place the tempeh inside. I put it on a baking tray, but recommend you place it on a rack, as the underside of the cake was not properly colonized by mold, likely due to a lack of air circulation.
Incubation takes between 20 and 30 hours. During the second half the fermentation period the tempeh will start to generate heat, so make sure to keep an eye on the temperature.


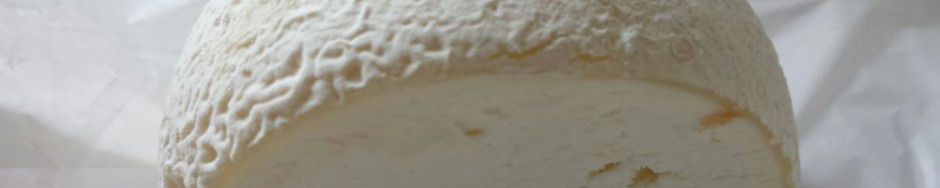
The tempeh is ready when it has become a solid mat of beans, held together by a white mold. It may have some black or gray mold around the air holes…these are new spores forming. It should smell mushroomy. As I’ve already mentioned, I had a bit of trouble with my tempeh because it did not colonize on the underside, so I put it on a rack and put it back into the oven. The cake got a bit more solid, but even though I left it to grow for another night, it never grew in completely. It was a bit crumbly but I was still able to get it out of the bag in pretty much one piece.
Step Seven: Storing
Remove the tempeh from the bag, and let it cool. You can then cut it into pieces for storage. Fresh tempeh will keep for about a week in the fridge. Make sure not to stack the pieces in the fridge or the mold will continue to grow and will generate heat. You can freeze the rest of it.
Step Eight: Eating!
The fresh te mpeh differed significantly in texture and in flavour compared to the Noble Bean tempeh I usually buy. It was firm, instead of being soggy, and crisped up nicely when fried. It had a pleasant mushroomy flavour and didn’t have the slight bitterness that I’ve come to associate with tempeh. It made some fantastic tempeh bacon! I haven’t yet tried defrosting any of the tempeh I froze, so I’m not sure how much freezing the tempeh affects its flavour and texture.
Making your own tempeh can save you quite a bit of money, as well, as the cost of the ingredients is quite low. According to my calculations, it was about 1/6 of the price o f s
f s tore-bought (about $4 for 240g).
My next adventure in tempeh making will be soy-free, for my mom who doesn’t eat soy.
Happy Fermenting!
Update: The defrosted tempeh is a little soggier than the freshly made stuff, but its flavour and texture are still superior to that of store-bought.


Hey thanks for planning to make some for me! It will be interesting to see if I like your soy free tempeh ! Mom
Most instructions for making tempeh say to use perforated plastic bags. I’ve also seen suggestions to use perforated plastic tubs or perforated plastic wrap sold for use in microwave cooking. Is there any reason cheesecloth wouldn’t work? Or a thicker cloth like canvas? Or a wood box with holes drilled in it? Or a colander? I read that one traditional way to make it in Indonesia was to wrap it in banana leaves and I think that I read that somewhere (Indonesia or somewhere else) some other leaf is used to wrap it. Any ideas about alternatives to the plastic bag?
That’s a good question, Kenny. I haven’t looked into it, but maintaining humidity and cleanliness would be the factors here. I would be most likely to try banana leaf as an alternative.