
Sure, there may have been a snowstorm here in Montreal just last week, but hey, it’s mid-April, and the snow has melted. One’s thoughts turn naturally to seeds, seedlings, and gardens…well, at least, mine do. I did start some seeds not too long ago, and some of them have sprouted! So, here are some photos for all of you. These will hopefully serve as a source of inspiration, or, if you’re new to starting seeds and are having trouble identifying your baby plants, these could help you with that, as well.
Note: I did sow my seeds more thickly than usually, since all are at least 2 years old, and thus, will have a lower germination rate.

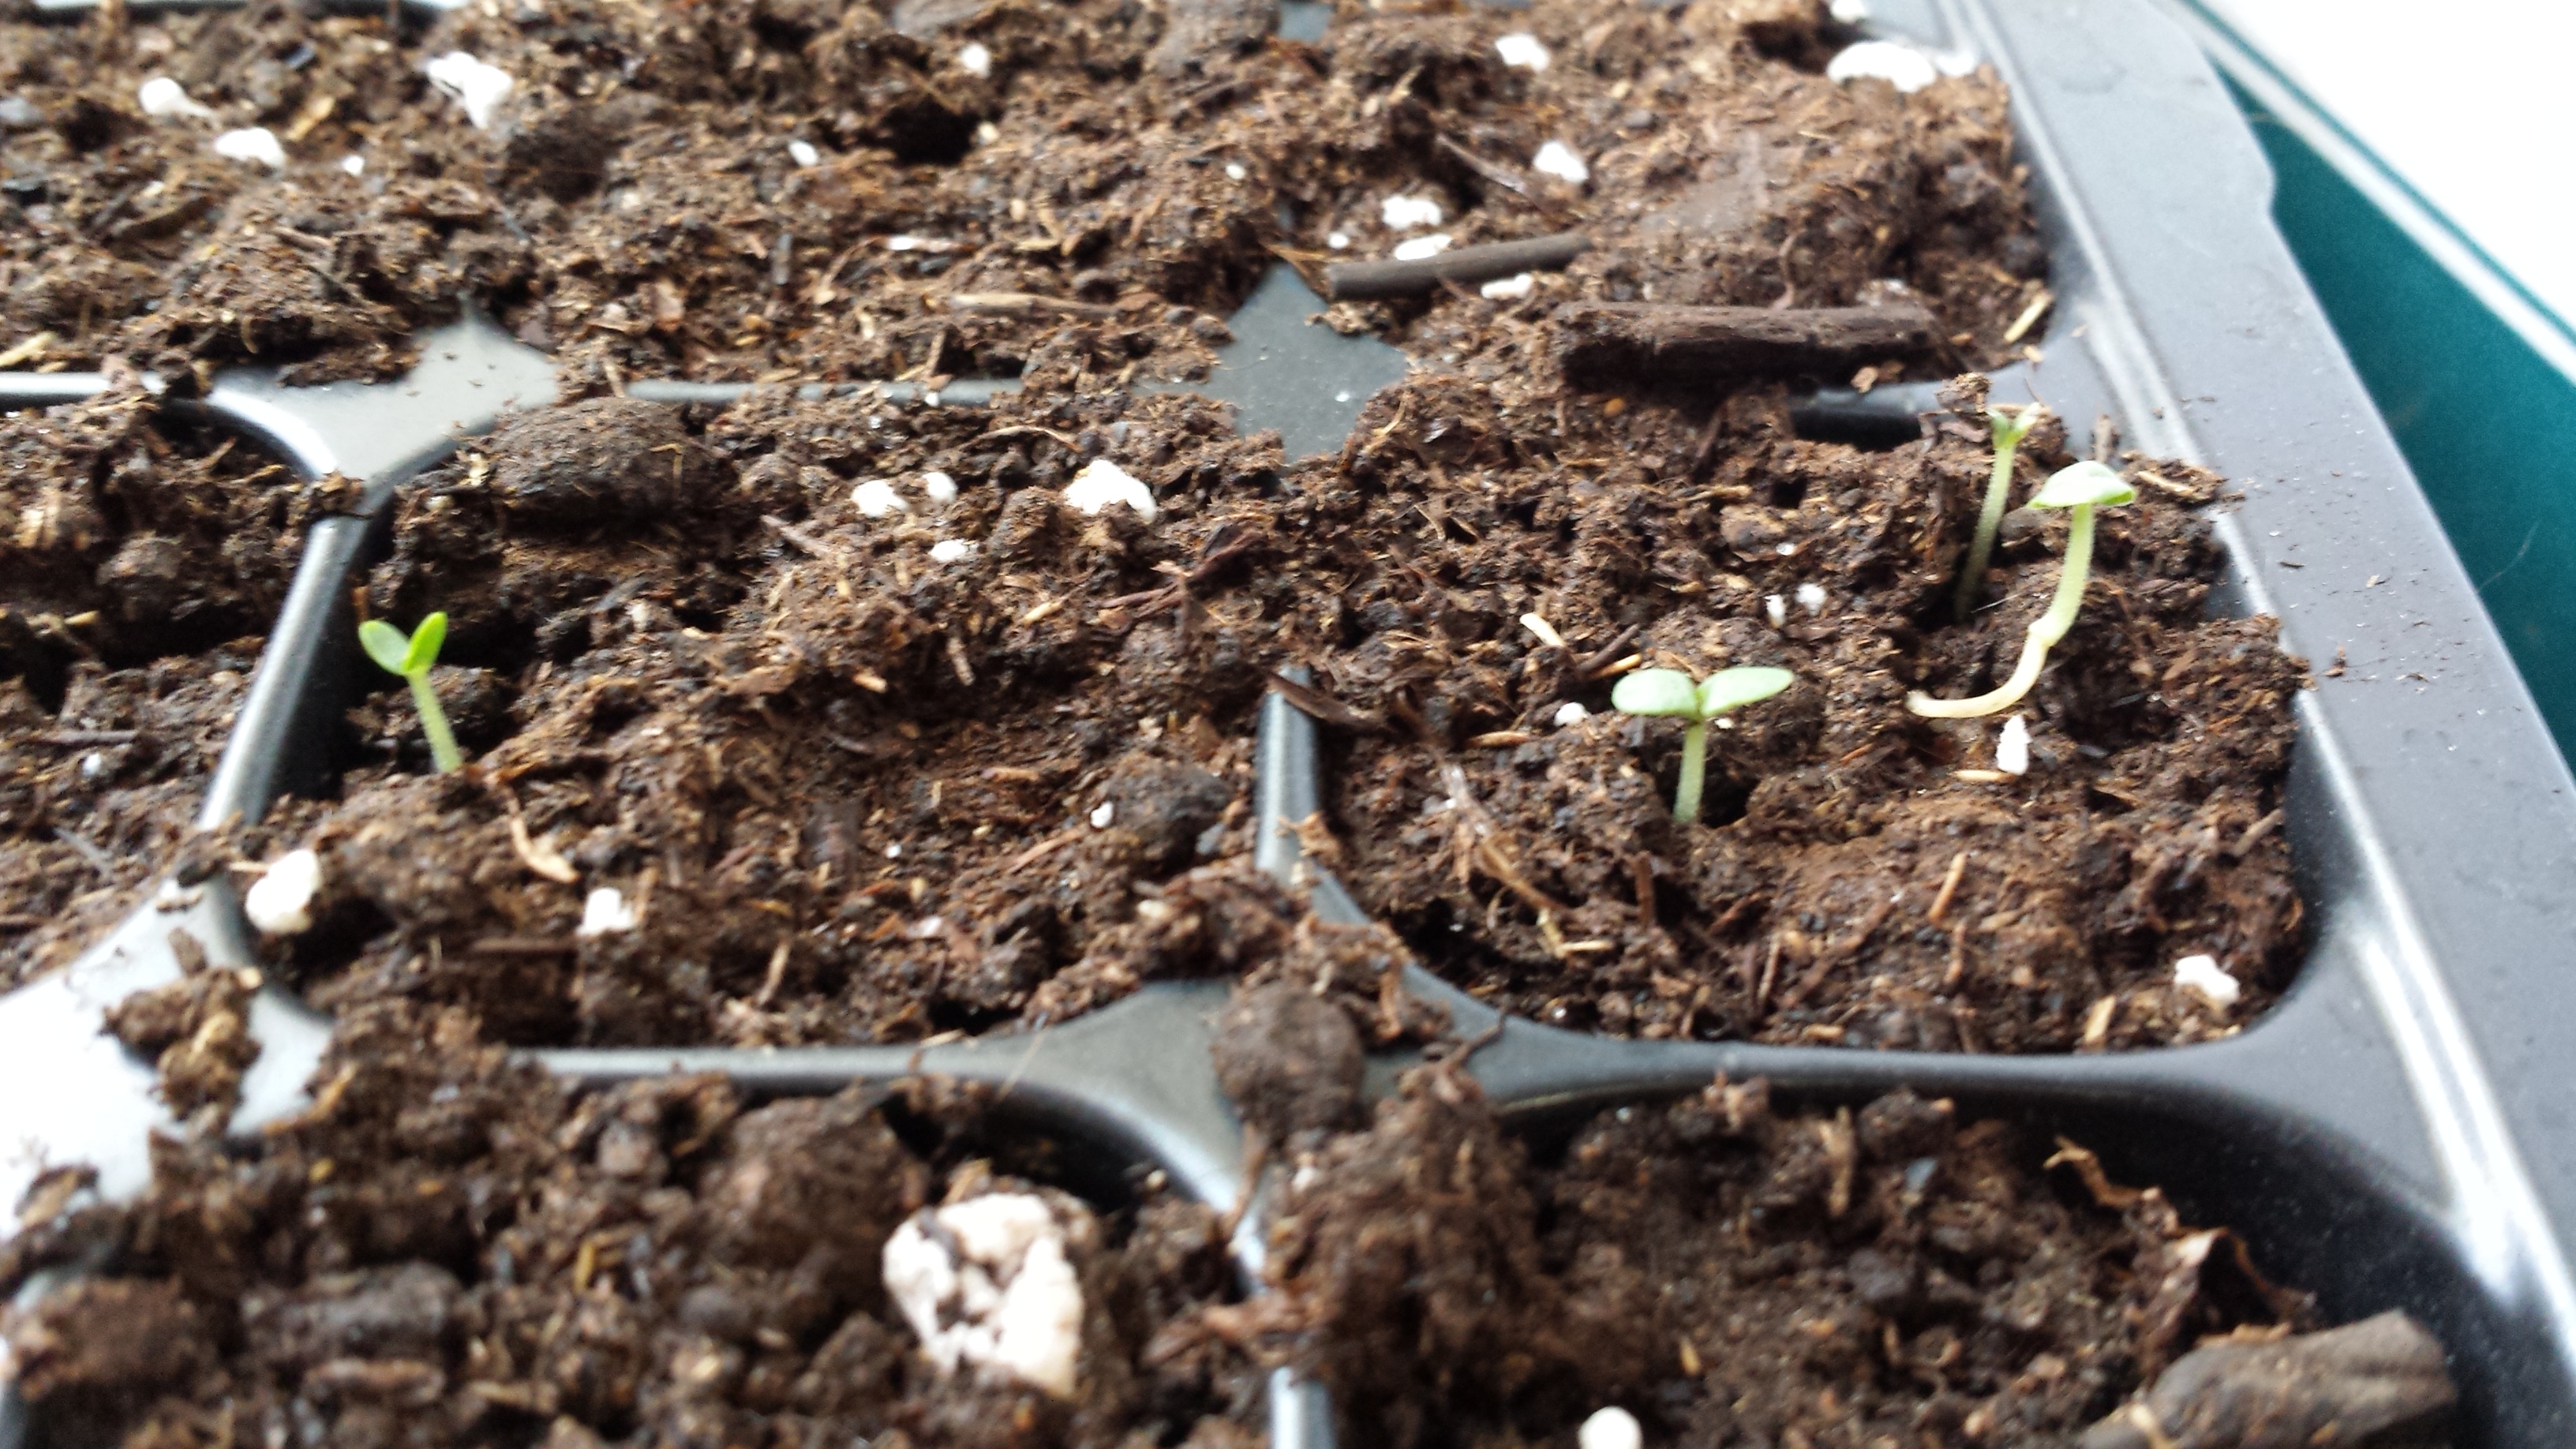
I used a commercial seed starting mix here, and bottom heat

Bergamot seedlings (these look similar to those of oregano and marjoram)

Tomato seedlings (these seeds are obviously still viable!)

Top- Borage seedlings (those of cucumber look like this as well) Bottom- Marjoram
Basil
From Seeds to Seedlings: Some Tips
Though one can just stick one’s seeds into soil and wait for them to sprout, here are a few tips to help you maximize your success:
- Use fresh seeds- Though seed viability is different for every plant, and also depends on how the seeds are stored, most seeds maintain their vigor for only about 3 years
- Use a sterile seed starting mix– Whether you buy a commercial seed starting mix or mix one up yourself, using a sterile mix (as in, don’t use dirt from your yard or potting soil you’ve already used) will help you to avoid problems with pests and disease.
- Maintain consistent moisture- Make sure your seed starting mix stays moist, so that seeds are able to sprout. This can be achieved by covering your seed-starting mix with a plastic dome, and/or by misting it with water.
- Place your flats in a warm place- Most seeds sprout faster when held at a higher temperature, and this is especially true of certain heat-loving vegetables like tomatoes and peppers
- Provide sufficient light- Though most seeds don’t need light in order to sprout, your seedlings will need light to grow into strong plants.